Here's a little cross-bloggial pollination from my toy soldier blog. I have a thing for artillery you know.
(click on the pix for larger versions)
Several years ago I traveled to Fort Foote just south of Washington DC to see the Giant Rodman guns emplaced there during the Civil War to bar the Potomac as a Confederate route of attack.
I've been fascinated with these guns ever since and have frequently thought of making a scale model of one.
Well, now armed with a woodshop the time seemed right. This cannon project, like the previous one started with a nice poplar blank locked into the wood lathe.

Scale drawings guided every move...
and measurement.


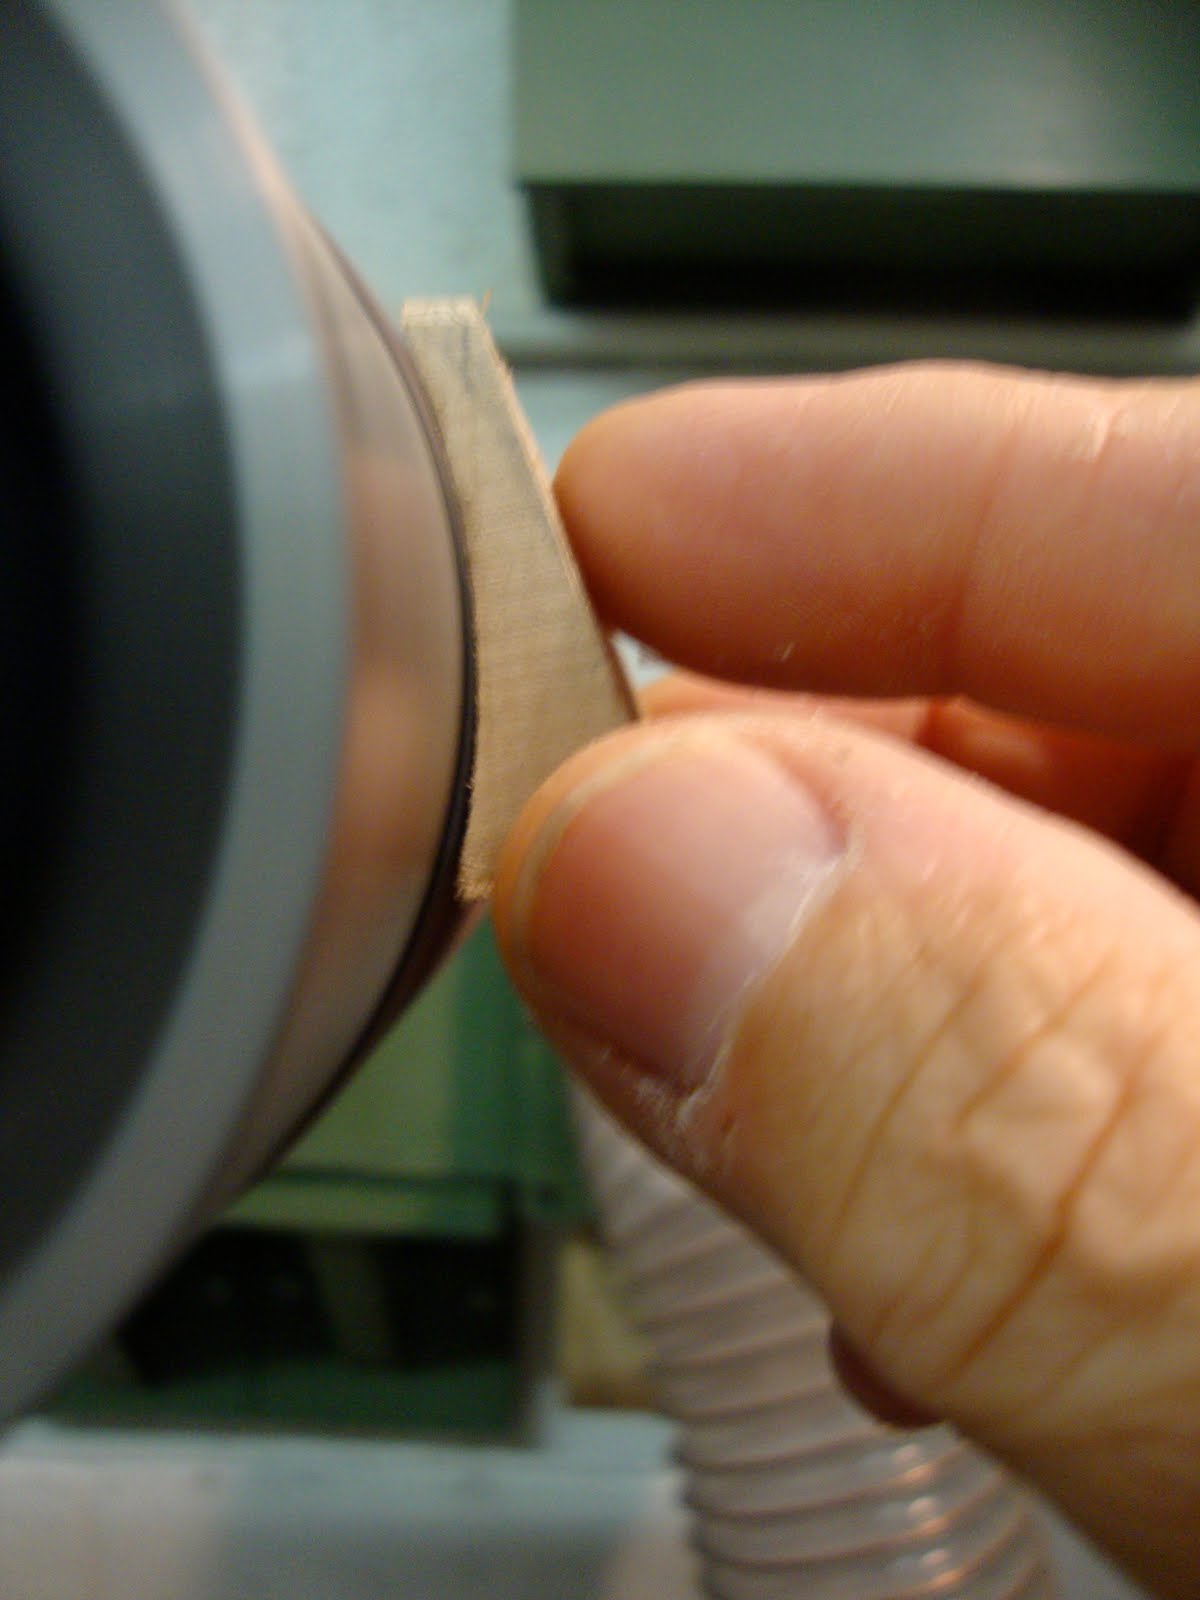
Remove enough wood and the barrel reveals itself.

By keeping the ends of the blank attached to the barel, I had the dead center indicated which made boring out the barrel really easy, not to mention accurate.
Here it is, right on the money.

Back to the lathe to turn the trunnions...

which, after shaping with a small drum sander...

were glued and clamped into position.

This Rodman gun has six wheels, two to return the gun to battery after the recoil caused it to slide up its inclined frame (thus absorbing the force of the recoil), and four large casters upon which the carriage travels along semi-circular tracks.

Again, I kept the stock ends intact to provice stable, square footings for accurate drilling and cutting.

As the upper part of the carriage took shape it was time to drill out shallow holes for the rivets.

When working in 54mm scale, to find a variety of rivets one need look no further than the nearest shotgun shell. Number 8 size shot was ideal for this project.

A drop of super glue will keep all rivets firmly in position.

Finally, it came time to make and assemble the twin I-beam recoil frame.


The large pivot wheels were glued and clamped, with weight, into position. Note that they are at a slight angle to each other, describing the arc'd tracks they will travel along.
The elevation lock was shaped by machine and by hand.

And glued into place at the rear of the upper carriage. The holes correspond with holes in the base of the breach. These were used for elevating the barrel and locking it into place.

To balance the barrel on its trunnions, I drilled a hole in the underside of the breech and filled it with shot, adding and subtracting until a perfect balance was achieved.

At that point white glue was dripped into the hole and cured overnight, locking the shot into place.

The subassemblies were then moved to the paint booth for two coats of satin black paint.
Then it was time to turn my attention to the fortification that would place the gun in a context. I chose to represent the handsome brick, stone, and mortar seacoast fortifications typical of the period.

Making an embrasure with a HSS hand-chisel was a real pleasure.

The various pieces of wood were then glued and clamped together.

Finally the gun is in context with the pivot tongue (forward) visible and the traversing rails executed in white styrene and superglued to the deck.
The pristine coat of black paint was weathered at this point by dry brushing with shades of gray, white, and graphite.

The pivot tongue captures a pin within the wall. This allowed the gun to move left to right while staying captured upon its rails.

The styrene rails were rubbed with powered graphite and polished until they looked like shiny steel. The deck was painted brick red and a "peach" prismacolor pencil laid out the mortar between the bricks.

The stone work around the embrasure was made with wood putty textured and painted to look like granite.
Moving the finished piece out into the daylight reveals a satisfying project completed.


Homestead safe from raiding gunboats, and I'm left to ponder...

about what the next project might be.
6 comments:
The Michelanglo of the lathe. Coaxing another master piece from the wood.
Bravo Mannie.
Amazing attention to detail, Manny. Superb work!
Awesome job on the gun Mannie. ~Gary
Goods heavens, that's simply awesome. Just awesome.
Pretty Cool, Mannie!
A Rodman gauge? I that how those guns were made? You have your own Tredegar Woodworks!
John C. Nicholas
Post a Comment